Choosing the right network video recorder (NVR) is a practical decision for Toronto businesses that affects evidence retention, day-to-day monitoring and long-term operational costs. Whether you manage a multi-tenant property, retail storefront, or a light industrial site, informed NVR selection and professional NVR installation Toronto can avoid common storage, network and security problems that reduce system reliability.
What is an NVR and how it fits into commercial CCTV
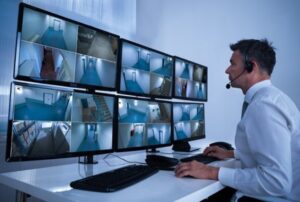
An NVR (network video recorder) records IP camera streams over a LAN and stores video on local drives. Typical components include PoE ports or PoE switch support, hard drive bays or NAS integration, a management interface (web or application) and user account controls. In many commercial setups an NVR acts as the on-premise recording node while analytics, access control or cloud VMS may be layered on top.
NVR vs DVR vs Cloud VMS — which is right for your property?
NVRs are the default choice when you use IP cameras and need on-site storage and direct PoE power. DVRs are legacy for analog systems. Cloud VMS shifts storage and management offsite, simplifying access but increasing ongoing bandwidth and subscription costs. For many Toronto businesses a hybrid approach — local NVR for primary retention and optional cloud backup for offsite redundancy — balances cost and resilience.
Key factors when you choose NVR for business Toronto
Number of channels and scalability
Pick an NVR that supports your current camera count plus future growth. Common configurations are 8/16/32 channels; larger sites may use networked storage or clustered recorders. Ask about channel licensing if cameras or analytics add per-camera fees.
Camera resolution, codecs and performance
Ensure compatibility with camera resolutions (2MP, 4MP, 4K) and codecs such as H.264 and H.265. H.265 reduces storage needs but increases CPU load. Match the recorder’s decoding and throughput capabilities to expected camera bitrates.
Storage planning and RAID options
Decide between single-disk, RAID mirror (RAID1) or RAID5/6 arrays for larger NVRs. RAID protects against drive failure but is not a substitute for offsite backups. Plan hot spares and drive health monitoring so retention goals are not lost when a disk fails.
PoE vs separate switch and power
PoE NVR for commercial installations simplifies wiring but verify total PoE budget (watts per port) enough for PTZ or heater cameras. In large sites a separate PoE switch with centralized UPS may be preferable.
Remote access, mobile viewing and bandwidth
Remote viewing is standard, but calculate upload bandwidth required for simultaneous streams and consider using remote viewing via the recorder’s relay or a site VPN to avoid exposing devices to the internet.
Environmental and physical installation
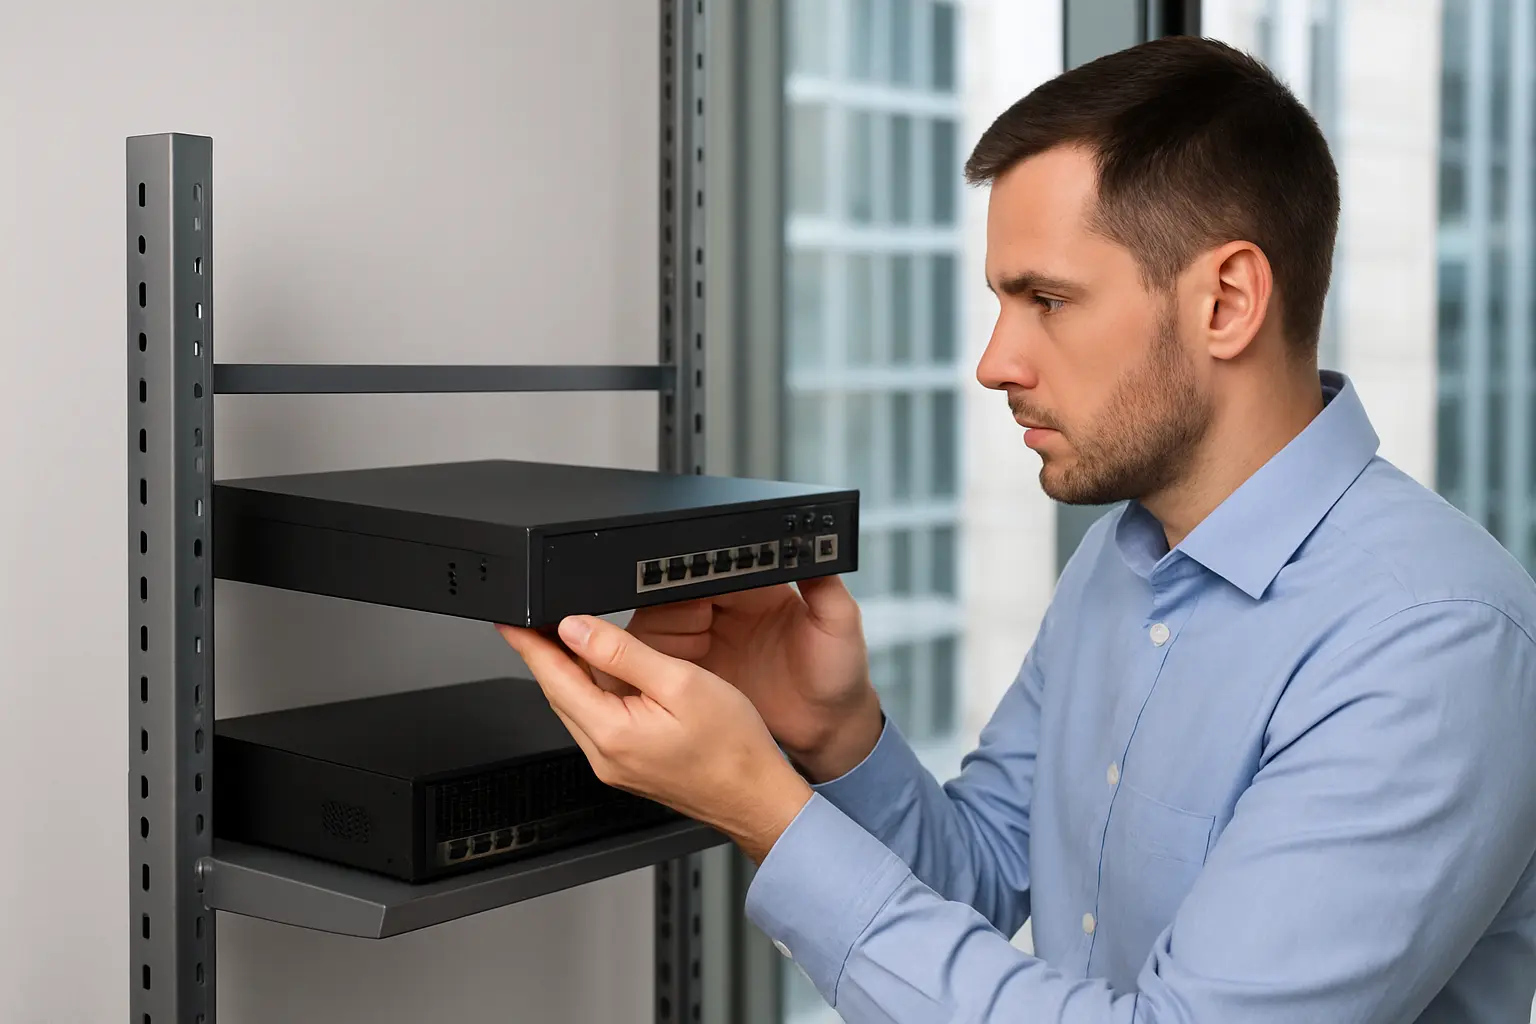
Select rackmount units for server rooms, ensure ventilation and temperature control, and plan for offsite backup copies if retention policies require long-term storage.
How to calculate storage and retention
Estimate average bitrate per camera (based on resolution, fps and codec), multiply by hours per day and number of days to retain. Multiply per-camera storage by number of cameras. Many manufacturers provide calculators; for accuracy account for motion vs continuous recording, GOP size and audio tracks. If unsure, arrange a site survey to model retention scenarios against available drives and RAID.
NVR configuration checklist for businesses
- Initial setup: set correct time zone, NTP time sync and system date/time.
- Create role-based user accounts; disable default admin user or change default credentials.
- Update firmware to the latest stable release before commissioning.
- Configure recording schedules (continuous, motion, alarm-triggered) per camera.
- Set up storage pools, RAID and alerts for drive health and space warnings.
- Enable secure remote access methods (VPN, reverse proxy) rather than direct open ports.
- Test restore from backup and export procedures for evidence handling.
Network and cybersecurity best practices
Segment surveillance on its own VLAN, apply firewall rules limiting access to management ports, enforce strong, unique passwords and change defaults. Disable unwanted services (UPnP, Telnet), keep firmware patched, and use VPNs for remote administrative access. Where available, enable two-factor authentication and audit logging.
Integration, compliance and operational considerations
Plan integrations with access control, door intercoms and analytics early to ensure event triggers and timestamps align. For Toronto/GTA businesses, maintain clear video retention policies, publish appropriate signage and limit access to recorded footage on a need-to-know basis to meet privacy expectations.
Common installation pitfalls and maintenance
Typical mistakes include undersized PoE budgets, inadequate storage planning, poor camera placement and leaving default credentials in place. Professional installers reduce risk by performing a site survey, validating cable run losses, confirming PoE power needs and testing retention under expected loads. Ongoing support should include health checks, firmware maintenance and storage management as retention requirements change.
Why choose 360 IT Advanced Security for NVR installation Toronto
360 IT Advanced Security offers NVR site surveys, professional installation, network and cybersecurity configuration, and managed surveillance support tailored for Toronto and the GTA commercial properties. We focus on practical storage planning, sane network design and operational checklists so your system meets monitoring and retention needs.
Contact 360 IT Advanced Security for a free NVR audit and quote for Toronto businesses.
Conclusion: Selecting and configuring an NVR for a commercial property requires balancing channel capacity, storage retention, network design and cybersecurity. A measured approach and professional installation help avoid downtime, data loss and privacy issues while keeping your surveillance system useful and manageable.