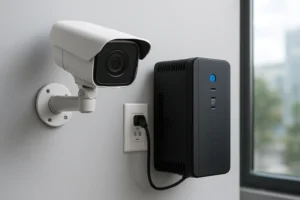
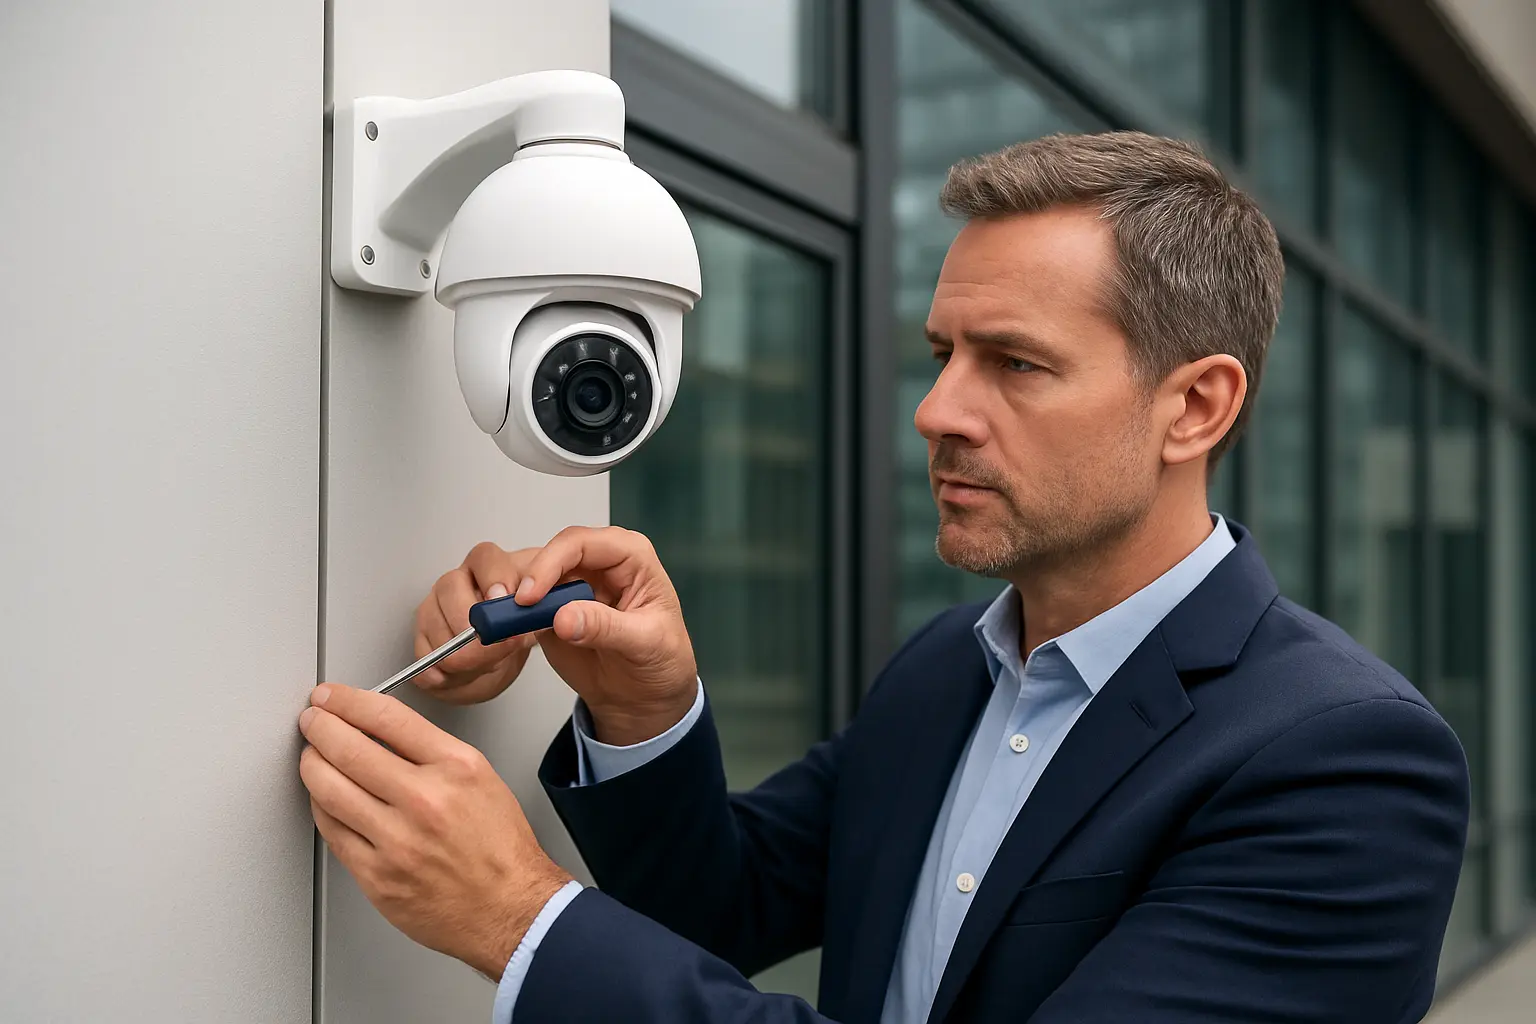
Many Toronto businesses are replacing aging analog CCTV with networked IP camera systems to improve image quality, remote access and integration with access control and analytics. If you are researching how to upgrade analog CCTV to IP cameras Toronto, this practical guide covers the options, technical considerations, cybersecurity and the steps needed for a smooth commercial migration.
Service benefits: why migrate now
Moving from analog to IP delivers clearer images (higher resolutions and better low-light performance), flexible recording and retention with NVRs or VMS, remote monitoring from multiple locations, and easier integration with modern security tools. For commercial properties in the GTA, IP systems also simplify scaling and central management across multiple buildings.
Is it time to upgrade?
- Equipment age: legacy DVRs and analog cameras are near end of life or lack replacement parts.
- Poor image quality: business needs for identification, license plate read or face capture exceed analog capability.
- Remote access and mobile monitoring: staff want reliable remote viewing and event alerts.
- Integration limits: you need video analytics, access-control correlation or centralised management.
- Storage and retention: current systems can’t economically meet your retention requirements.
Upgrade options explained
Hybrid approach: keep analog cameras with an IP-capable NVR
For sites with many functioning analog cameras, a hybrid solution uses encoders or an NVR with analog inputs to bring video onto an IP-based platform. This reduces upfront camera replacement while adding network recording, remote access and central management.
Full IP migration: replace cameras and move to PoE and networked recording
Full IP migration replaces analog cameras with IP models and uses PoE switches for power and data. This gives the best long-term flexibility, higher resolution options, and modern analytics support. It’s usually the best choice where image quality, low-light performance or analytics are priority.
Phased migration vs full rip-and-replace: pros and cons
Phased migration spreads cost and disruption by upgrading zones in stages; it’s useful for large commercial sites. Rip-and-replace is faster and avoids hybrid compatibility issues but requires a larger short-term investment and coordination for cabling and downtime.
Key technical considerations for Toronto installations
Camera selection: resolution, low-light and environmental ratings
Choose cameras that meet your identification needs (e.g., 2MP vs 4K), with low-light capabilities or IR for night coverage. For exterior locations select vandal-resistant and weather-rated models (e.g., IP66/IP67) and consider heated housings for exposed sites.
NVR vs VMS and storage planning
Select an NVR or VMS based on channel count, expected retention, and features like motion-based storage. Plan storage for desired retention days and factor in higher bitrate from higher-resolution cameras.
Cabling and power: coax reuse and PoE requirements
Coax can sometimes be reused with encoders, but full IP typically requires Ethernet and PoE. Survey conduit capacity and cable runs; long runs or challenging pathways may affect labour and materials.
Network capacity and segmentation
Surveillance traffic can be heavy—use VLANs to isolate camera traffic, apply QoS to prioritise critical operations, and ensure switches can handle PoE loads and throughput without impacting business networks.
Cybersecurity and privacy during and after migration
- Basic hardening: change default credentials, enforce strong passwords and limit admin access.
- Firmware and patching: maintain a schedule for updates to cameras and NVRs to address vulnerabilities.
- Network isolation: place cameras and recording systems on segmented VLANs with firewall rules restricting access.
- Privacy and workplace rules: comply with Ontario privacy expectations—notify staff where cameras are located and avoid unnecessary coverage of private areas.
Cost factors and budgeting
Project cost depends on equipment quality (camera and NVR/VMS), cabling and labour complexity, any network upgrades, storage needs and ongoing maintenance. Phased projects change cash flow but may increase total coordination costs; hybrid approaches lower immediate equipment spend but can add long-term support complexity.
Installation and testing checklist for a smooth migration
- Pre-install survey: map camera locations, cable runs, power sources and network access points.
- Staging and configuration: pre-configure cameras and NVR settings off-site where possible.
- Acceptance testing: verify image quality, remote access, alarm integration and retention policies.
- Documentation: hand over network diagrams, camera IDs and login procedures to operations staff.
Maintenance and long-term support
Plan regular health checks, firmware updates and storage audits. A support agreement that includes remote monitoring and timely on-site response helps ensure uptime and evidence availability when needed.
How to choose a local installer in the GTA
Ask potential installers for a thorough site survey, clear NVR/VMS configuration practices, demonstrated cyber-hardening steps, and written service terms. Ensure they can coordinate network readiness with your IT team and document the system for your operations staff.
When to contact 360 IT Advanced Security
360 IT Advanced Security can perform site surveys, design migration plans (hybrid or full IP), install and configure NVRs and cameras, and implement network segmentation and security hardening. For more information, visit our contact page: /contact.
Conclusion
Upgrading analog CCTV to IP cameras in Toronto delivers better image quality, remote management and future-ready integration—but success depends on planning for cabling, recording, network capacity and cybersecurity. If you’re ready to evaluate options for your building or portfolio, contact 360 IT Advanced Security for a free site survey and quote.